Written by
doremin
on
on
Core Animation을 이용한 Particle Animation
Core Animation을 이용한 Particle Animation
Safari의 ‘방해 요소 가리기(Hide Distracting Items)’처럼, iOS에서 Particle Animation을 구현해 보고자 합니다.
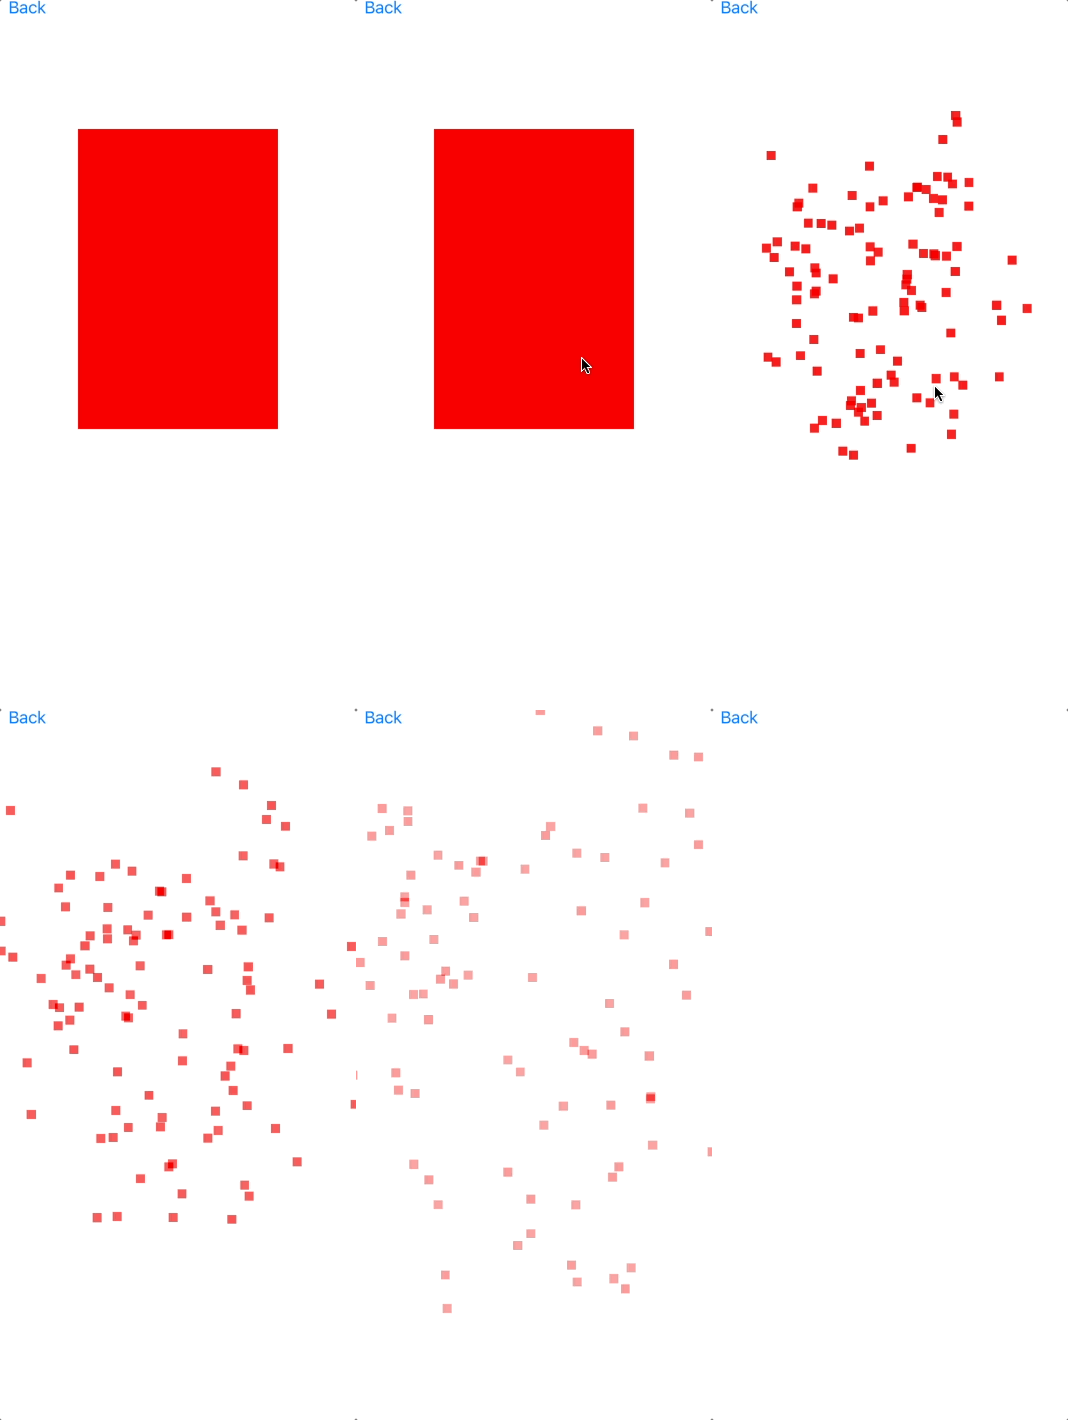
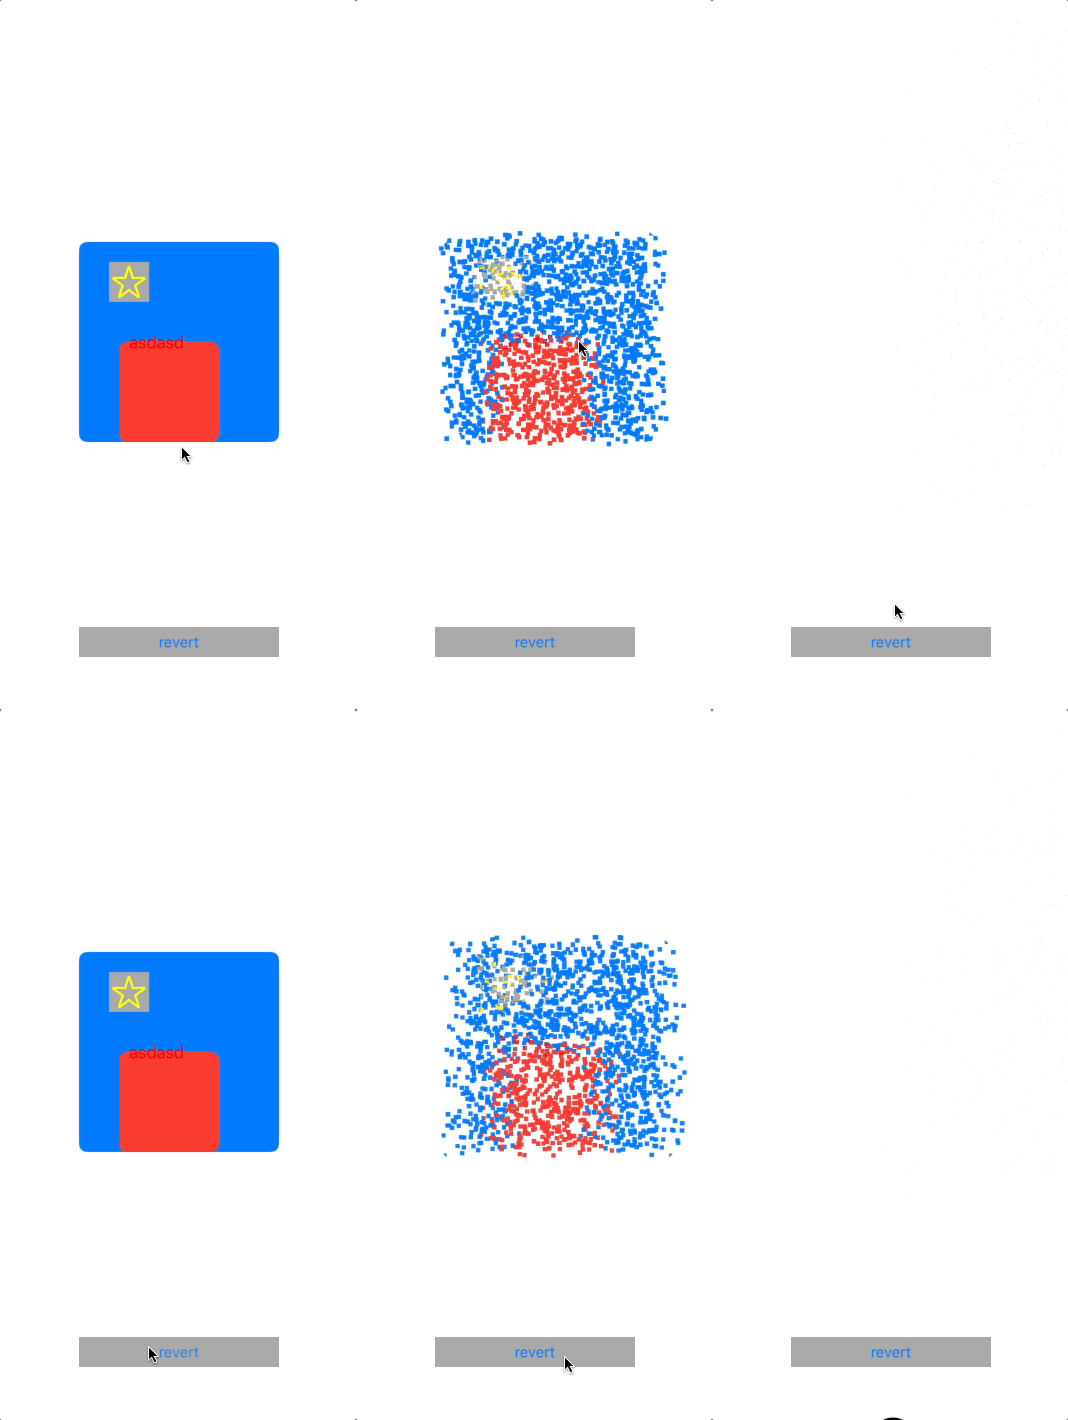
미리보기
| CAEmitterLayer 활용 | UIView 분해 애니메이션 |
|---|---|
 |
 |
1. CAEmitterLayer로 간단하게 만들기
빠르고 쉽고, 코드도 짧음.
뷰와 완벽히 일치하진 않지만, 기본적인 파티클 효과를 빠르게 적용할 수 있습니다.
- 핵심 원리:
CAEmitterLayer와CAEmitterCell로 파티클 발사 - 주요 코드:
@objc private func didTap() { let emitter = CAEmitterLayer() emitter.emitterPosition = box1.center emitter.emitterSize = box1.bounds.size emitter.emitterShape = .rectangle let cell = CAEmitterCell() cell.contents = makeSquareParticleImage(color: box1.backgroundColor?.cgColor ?? UIColor.gray.cgColor)?.cgImage cell.birthRate = 1000 cell.lifetime = 1.5 cell.velocity = 150 cell.emissionRange = .pi * 2 cell.alphaSpeed = -0.5 emitter.emitterCells = [cell] view.layer.addSublayer(emitter) box1.isHidden = true DispatchQueue.main.asyncAfter(deadline: .now() + 0.1) { emitter.birthRate = 0 } } - 장점: 쉽고 빠름, 코드량 적음
- 단점: 원본 뷰와 정확히 일치하는 조각 아님, 시각적 완성도는 제한적
2. UIView 분해(Disintegrate) 애니메이션
원본 이미지를 여러 타일로 분해,
각각의 조각이 실제로 흩어지는 효과.
실제로 Safari의 효과와 가장 유사한 방식.
- 핵심 원리:
- UIView를 이미지로 캡처
- 작은 타일 이미지로 분할
- 각각 CALayer로 추가 후 애니메이션
- 주요 코드:
extension UIView { func disintegrate(maxTiles: Int = 2000) { // UIView의 snapshot image 생성 UIGraphicsBeginImageContextWithOptions(self.bounds.size, false, UIScreen.main.scale) self.layer.render(in: UIGraphicsGetCurrentContext()!) guard let snapshotImage = UIGraphicsGetImageFromCurrentImageContext()?.cgImage else { UIGraphicsEndImageContext() return } UIGraphicsEndImageContext() ... // 일정한 크기로 이미지 crop for x in stride(from: 0, to: imageWidth, by: Int(pixelSize * scale)) { for y in stride(from: 0, to: imageHeight, by: Int(pixelSize * scale)) { let rect = CGRect(x: x, y: y, width: Int(pixelSize * scale), height: Int(pixelSize * scale)) guard let tileImage = snapshotImage.cropping(to: rect) else { continue } let tileLayer = CALayer() tileLayer.contents = tileImage tileLayer.frame = CGRect( x: self.frame.origin.x + CGFloat(x) / scale, y: self.frame.origin.y + CGFloat(y) / scale, width: pixelSize, height: pixelSize ) ... // cropped image에 애니메이션 추가 CATransaction.begin() CATransaction.setCompletionBlock { tileLayer.removeFromSuperlayer() } tileLayer.add(group, forKey: nil) CATransaction.commit() } } } } - 장점: 원본 뷰와 1:1 매칭되는 파티클, 완성도 높음
- 단점: 코드 복잡, 성능 부하(메모리/CPU), 최적화 필요
전체 코드 및 샘플 프로젝트
👉 GitHub에서 전체 코드 보기
(전체 동작, ViewController, tile 분할/애니메이션 등 상세 구현 포함)
실행 결과 및 비교
- CAEmitterLayer는 50000 개의 particle을 생성해도 CPU, Memory 증가가 거의 없는 수준.
- iPhone 16 Pro 기준 5000개의 particle을 생성하면 약 CPU 10%, Memory 50MB 를 차지.
언제 어떤 방식을 선택해야 할까?
| 상황 | CAEmitterLayer | UIView 분해(Disintegrate) |
|---|---|---|
| Particle을 직접 조작해야할 때 | ❌ | ✅ |
| 5000개 이상 파티클 | ⭐️ (성능 양호) | ❌ 최적화 필요 |
| 사진/컬러 일체감 | ❌ | ⭐️ (완전 동일) |
- 실제 서비스에서는 Metal, Scene Kit 등 GPU 를 사용하는 방식을 고려하는게 좋을 것 같다.
마치며
추후에 Metal Shader를 이용해서 GPU에서 동작하는 Particle System을 구현하고자 합니다. GPU는 병렬처리에 최적화 되어있기 때문에 Particle의 개수가 수만개가 되더라도 성능저하가 적을 것으로 기대합니다.